8 Pro Tips for Searing Scallops with a Perfect Golden Crust


 288 Comments


Scallops are perhaps the quickest way to impress a dinner guest or completely disappoint them. On the surface, they seem simple. They are uniform, small, and cook in a matter of minutes. However, because they cook so fast, they are incredibly unforgiving. If you miscalculate the pan temperature or leave them in just 30 seconds too long, you’ll end up with pale, soggy, rubbery weights rather than a spectacular golden-brown crust surrounding a perfectly tender center. Many home cooks think the secret lies in some advanced, hidden technique. It doesn't. The secret is control.
Scallops contain a massive amount of natural moisture. If you don't manage that moisture properly, they will steam instead of sear. The moment your scallops begin to steam, you lose any chance of developing that coveted restaurant-quality crust.
To bridge the gap between home-cooked and chef-level scallops, you need to master three variables: heat, timing, and moisture control. Here is exactly how to do it.
Master 8 Searing Scallops Tips
Ready to turn a simple ingredient into a show-stopping dish? It all comes down to control. By mastering the variables of moisture, temperature, and timing, you can take all the anxiety out of cooking seafood. Here are the eight non-negotiable rules of searing that will guarantee a perfect golden crust and a melt-in-your-mouth center.
Pat the Scallops Thoroughly Dry
This step is completely non-negotiable.
Moisture is the ultimate enemy of a good sear. If the surface of the scallop is wet when it hits the pan, that water will instantly flash into steam, lowering the surface temperature of your cookware and preventing the Maillard reaction (browning) from occurring.
How to do it right: Line a plate with paper towels, place the scallops on top, and thoroughly pat the tops and sides dry with another paper towel. For an even better crust, let them sit uncovered in the fridge for 10 to 15 minutes after patting them dry to let the refrigerator air wick away any remaining surface moisture.
Preheat Your Pan Correctly
If your pan isn't hot enough, nothing else on this list matters.
A properly preheated pan produces an immediate sear. The moment a scallop touches the metal, you should hear a loud, distinct sizzle. That sound tells you that the exterior is searing before the interior has a chance to overcook.
The Golden Rule: You are looking for consistent, medium-high heat—not raging, smoking heat that will burn the outside while leaving the inside raw. Cast iron or stainless steel skillets work best because they retain heat exceptionally well when cold food is added.

Choose a High-Smoke-Point Oil
All cooking fats are not created equal.
While butter tastes amazing, its milk solids burn far too quickly at searing temperatures. Similarly, extra virgin olive oil has a low smoke point and will break down, turning bitter and smoky.
To get a clean, beautiful sear without acrid flavors, use an oil that can withstand high heat:
- Avocado oil
- Grapeseed oil
- Canola or vegetable oil
Pro Tip: If you love that rich, buttery restaurant flavor, sear the scallops in oil first. During the last 30 to 45 seconds of cooking, toss a tablespoon of butter and a sprig of thyme into the pan, let it foam, and spoon it over the scallops (a technique called basting).
Do Not Overcrowd the Pan
This is where most home cooks lose control.
When you crowd too many scallops into a single pan, two bad things happen: the overall temperature of the pan drops drastically, and the moisture escaping from each scallop gets trapped underneath them. Instead of searing, your scallops will boil in their own juices.
Leave some breathing room: Give each scallop at least an inch of space. If you are cooking a large batch, work in stages. It is much better to serve two batches of perfectly seared scallops than one massive batch of rubbery ones.
Resist the Urge to Move Them
Once your scallops hit the pan, step back. Do not poke, prod, or flip them prematurely.
Constantly moving the scallops disrupts the heat transfer and ruins the crust formation. The scallop needs uninterrupted contact with the hot metal to build that beautiful golden exterior.
Let them release naturally: Let the scallops sear undisturbed for about 1.5 to 2 minutes. When a proper crust has formed, the scallop will naturally "stick" less and release easily from the pan when you go to lift it with tongs. If it's resisting, it's not ready to flip yet.
Cook Them Shorter Than You Think
Scallops cook incredibly fast. An extra 30 seconds can mean the difference between a melt-in-your-mouth texture and a rubber tire.
On average, a standard large sea scallop only needs:
- 1.5 to 2 minutes on the first side (to build the crust).
- 30 seconds to 1 minute on the second side.
Your goal is a deeply browned crust on the outside, while the center remains slightly translucent, warm, and incredibly tender.
Use a Digital Thermometer for Total Precision
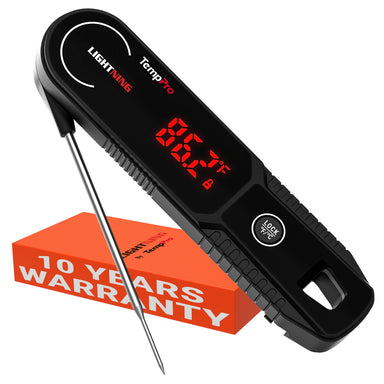
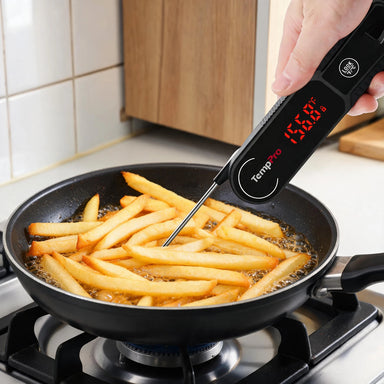
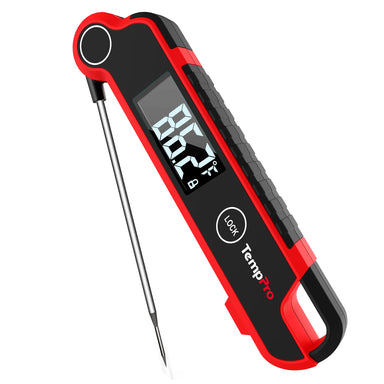
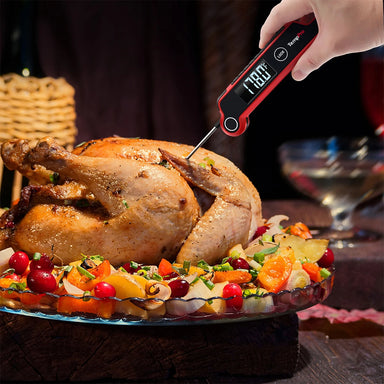
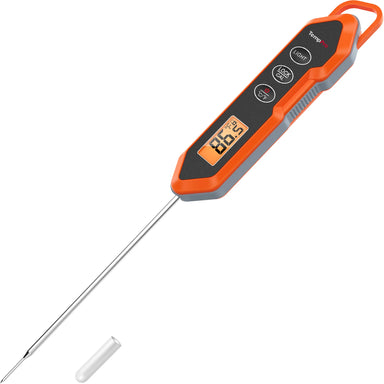
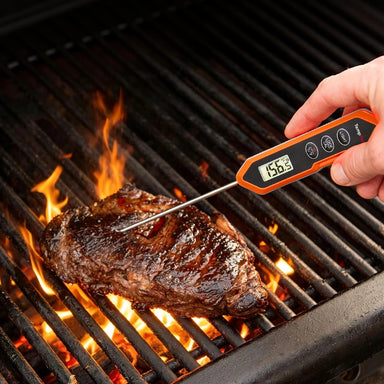
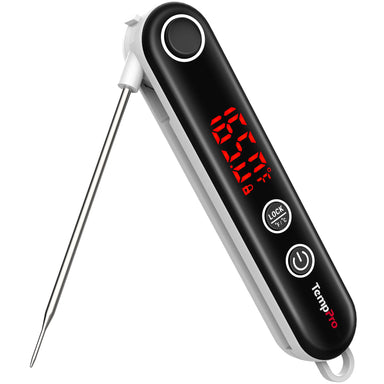
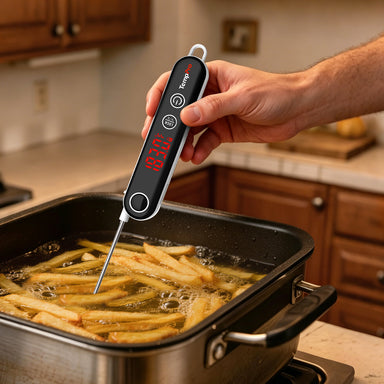
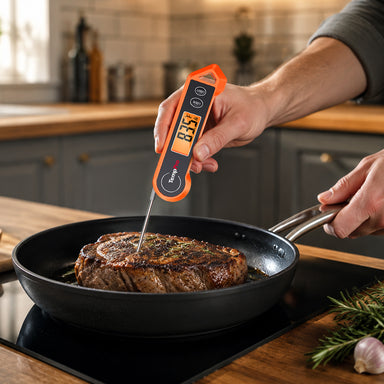
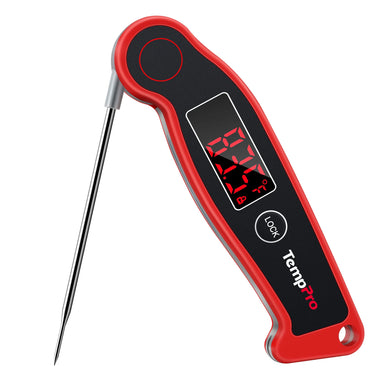
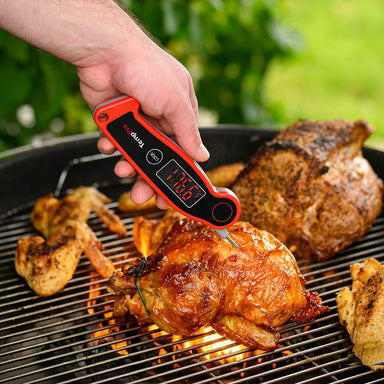
Because the window between undercooked, perfectly cooked, and ruined is a matter of seconds, relying solely on visual guesswork is risky. Using a fast, highly accurate digital meat thermometer, like the TempPro TP03B completely changes the game. It allows you to check the internal temperature instantly without letting the heat escape. Target an internal temperature of 115°F to 120°F before pulling them off the stove.

Pull Them Early and Trust Carryover Cooking
Do not leave the scallops in the hot pan until they are fully done. If you do, they will be overcooked by the time they hit the dinner plate.
Scallops hold residual heat. Once you pull them out of the pan at 115°F-120°F and transfer them to a warm plate, that trapped heat will continue to cook the interior for another minute, bringing them to the ideal final serving temperature of 125°F to 130°F.
Why Precision Eliminates Kitchen Anxiety
Most people cook scallops based on "vibes" and gut feelings. Sometimes it works out, but often it doesn't, which makes cooking them feel incredibly stressful. By shifting to a controlled, methodical approach, managing surface moisture, using the right oil, giving them space, and tracking the temperature with a reliable tool like the TempPro TP03B Instant-Read Meat Thermometer, you take the luck out of the equation. Cooking scallops stops being a high-stakes gamble and becomes a repeatable, stress-free skill you can show off any night of the week.
FAQs about Searing Scallops
Q1. Why won't my scallops brown properly?
The two most common culprits are excess surface moisture which steams the scallop or a pan that wasn't properly preheated. Always dry them thoroughly and wait for that sizzle.
Q2. How can I tell if I bought "wet" or "dry" scallops?
"Wet" scallops are treated with a chemical preservative (sodium tripolyphosphate) that makes them absorb water. They look bright white and will weep massive amounts of liquid in the pan, making a good sear nearly impossible. Look for "dry-packed" or wild-caught scallops, which have a natural ivory or slightly pinkish-tan hue and sear beautifully.
Q3. Do I really need a thermometer for scallops?
While experienced chefs can tell by feel, a digital fast-reading meat thermometer is the best insurance policy for a home cook. Because scallops cook so rapidly, a meat thermometer removes the guesswork and guarantees you won't overcook them.
Q4. What side of the scallop should I sear first?
Always sear the "presentation side" first, usually the prettier, flatter side. The pan is hottest when the scallops first hit it, meaning your first side will always get the best, most even crust.


Comments


Recommended Products