Feria de Ciencias de la Barbacoa: Enseñe a los Niños la Química Real del Calor


 288 Comments


Olvídate de los volcanes de vinagre, esta primavera es hora de la ciencia de la barbacoa. El fuego, el humo, la grasa y el calor no son solo cocina, sino química en movimiento. Y si tienes niños curiosos (o incluso solo hambrientos), una barbacoa es la forma más deliciosa de enseñar lecciones reales de STEM.
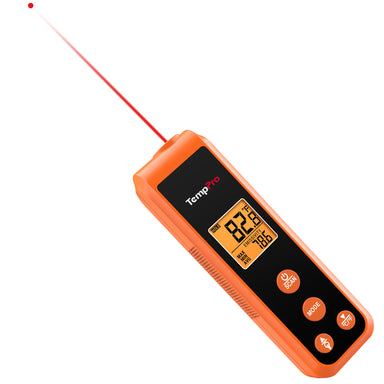
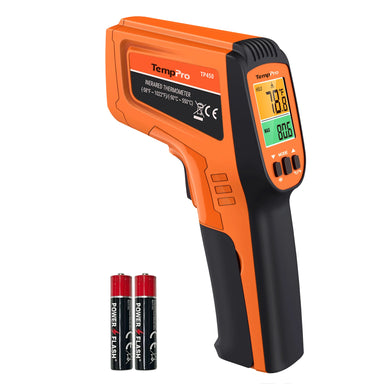
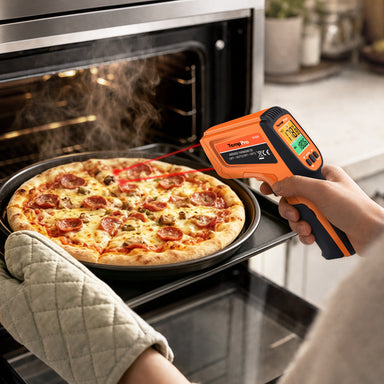
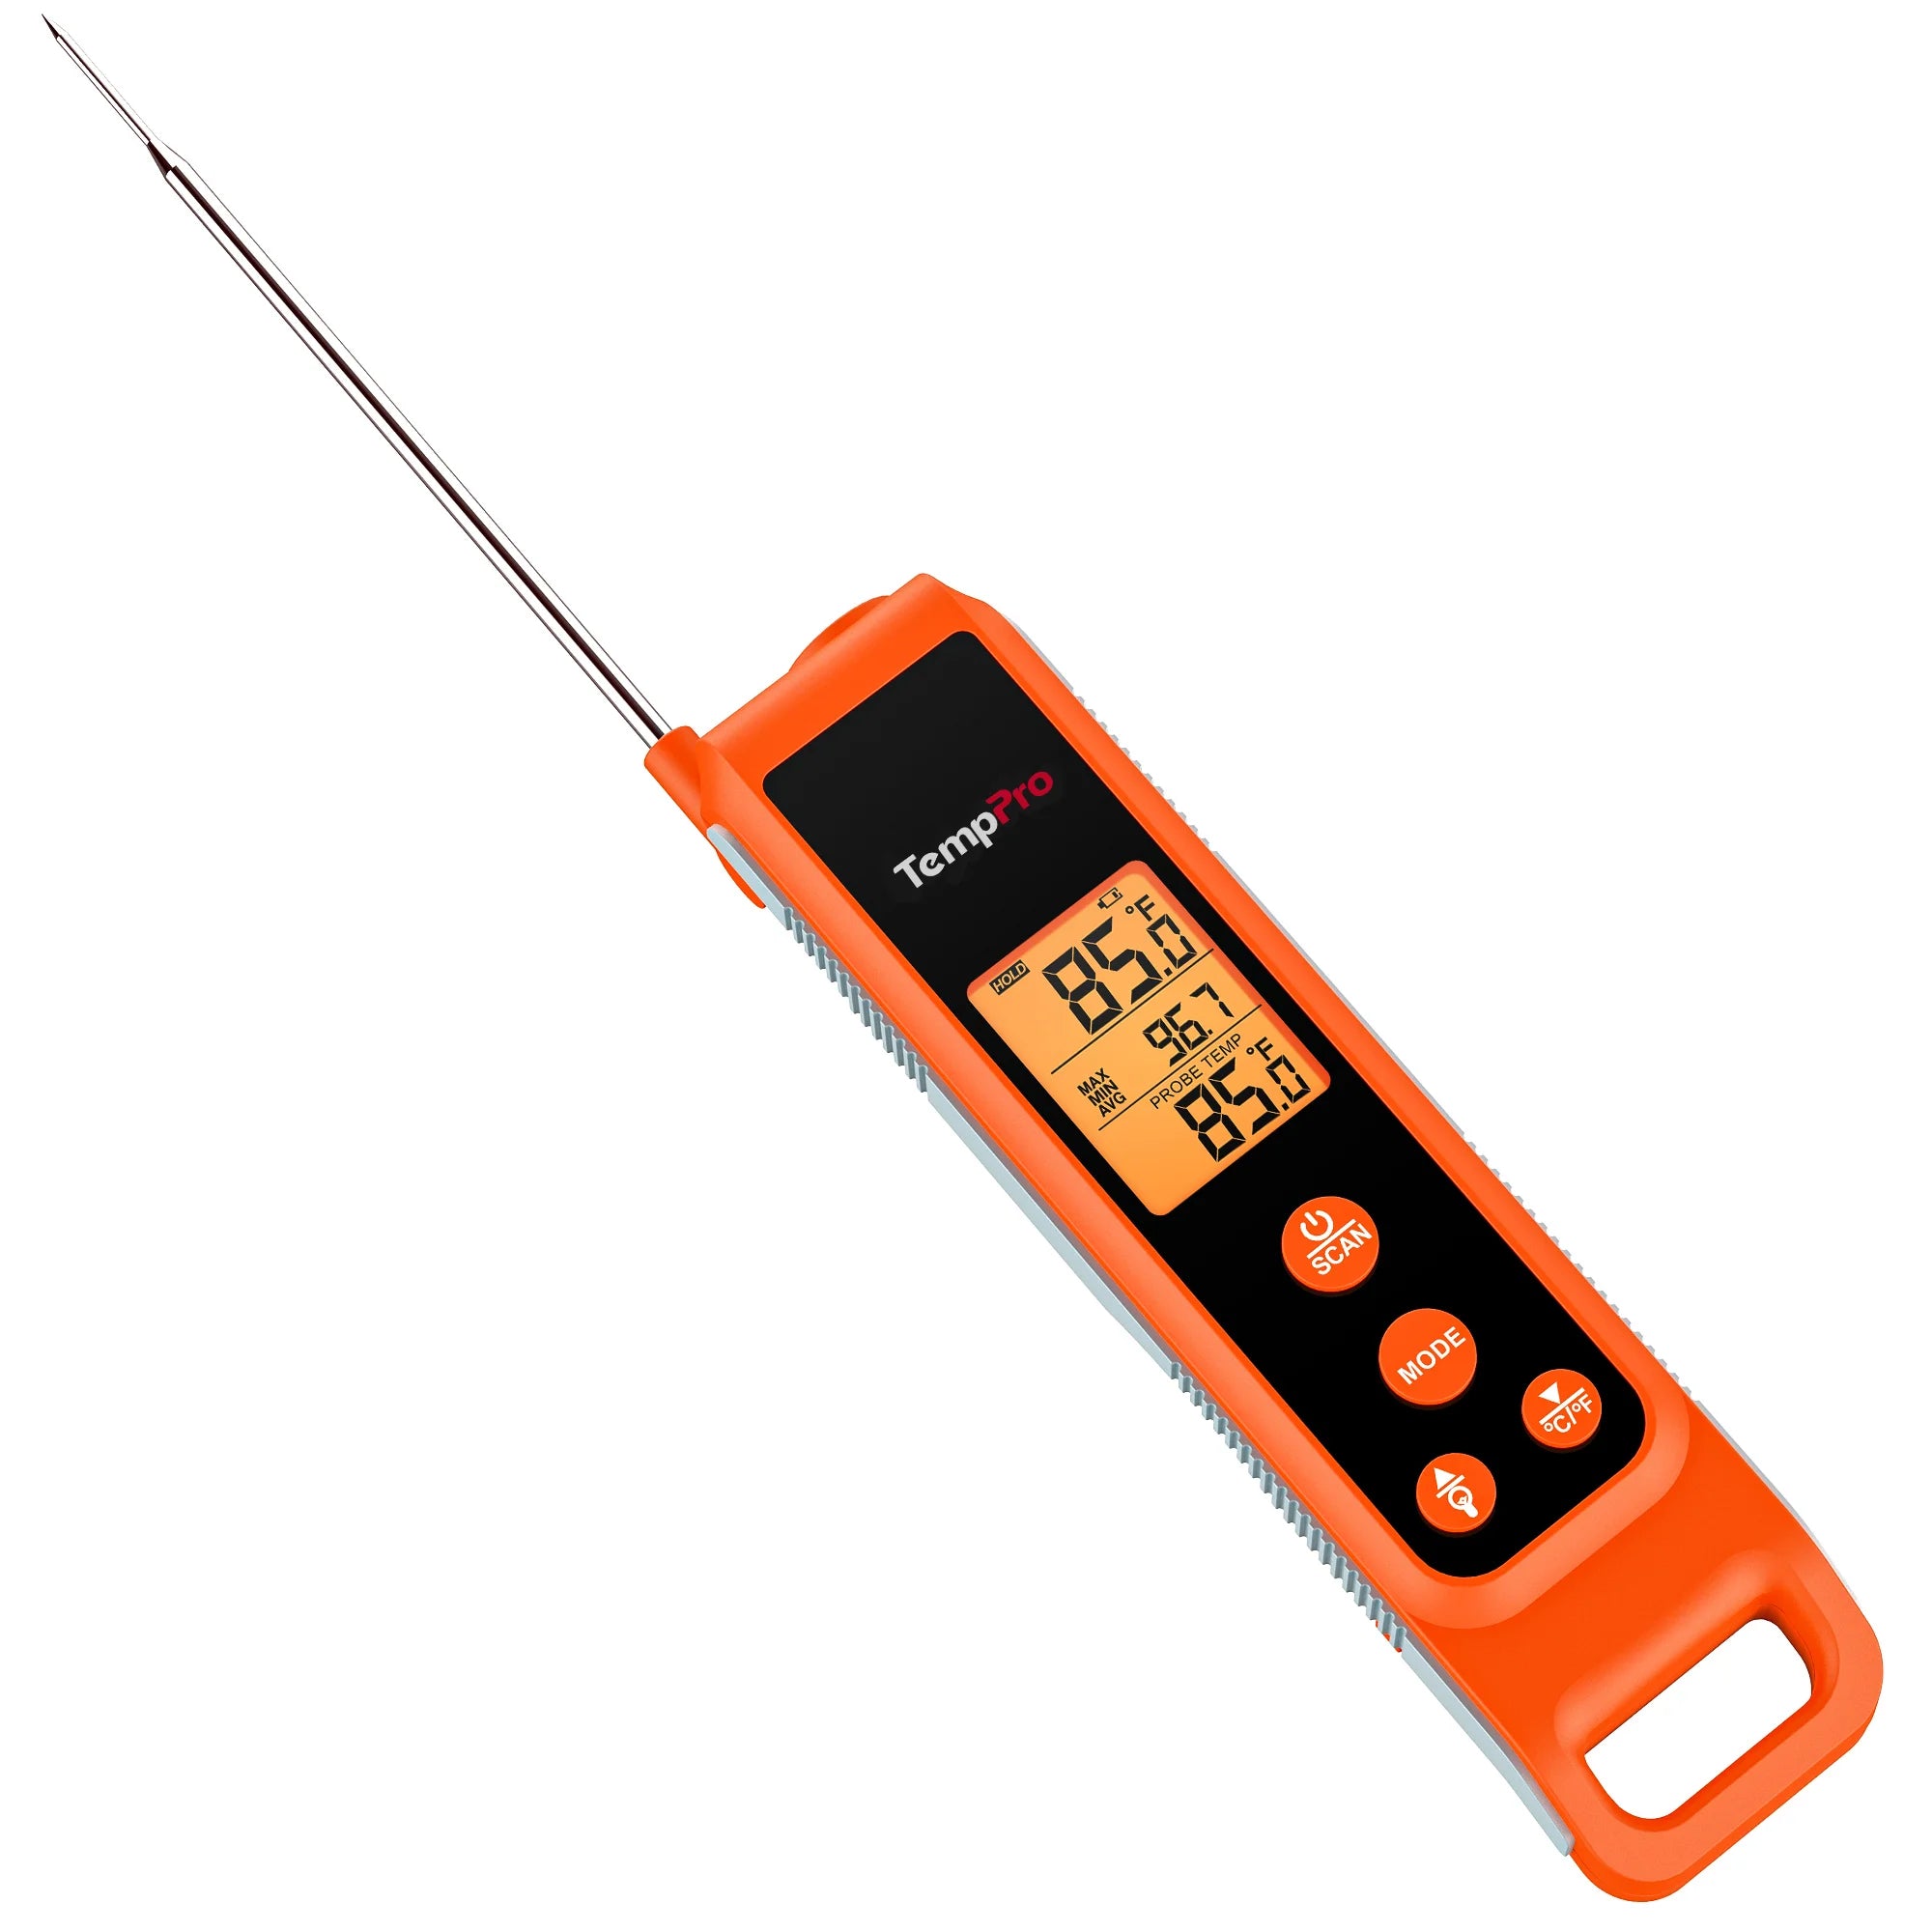
En el corazón de todo está la temperatura, la fuerza invisible que transforma la carne cruda en la cena. Con el termómetro de carne de lectura instantánea 2 en 1 TempPro TP420, finalmente puedes mostrarles a tus hijos cómo la ciencia da forma al sabor. Es un termómetro de infrarrojos y sonda 2 en 1, lo que significa que mide tanto el calor superficial de tu parrilla o plancha como la temperatura interna de los alimentos. En otras palabras, es mitad termómetro, mitad experimento científico.
Lección 1: La ciencia de la transferencia de calor
Antes de que puedas hablar de sabor, tienes que hablar de física.
Hay tres formas en que se mueve el calor:
- Conducción: contacto directo (como carne en una parrilla caliente)
- Convección: circulación de aire caliente dentro de un ahumador
- Radiación: energía de carbones incandescentes o llama abierta
La mayoría de los niños piensan que "caliente es caliente", pero estos métodos se comportan de forma totalmente diferente.
Con el sensor de infrarrojos del TempPro TP420, puedes medir cada uno.
Prueba este experimento:
- Pide a tus hijos que apunten el termómetro IR a las rejillas de la parrilla, al aire que las rodea y a la tapa.
- Observa cómo suben las temperaturas: el metal puede alcanzar los 600°F, mientras que el aire puede rondar los 350°F.
- Luego, inserta la sonda en una hamburguesa y observa lo lento que aumenta la temperatura interna en comparación con la superficie.
Momento de enseñanza:
Explica que el aire es un mal conductor, pero el metal es excelente. Por eso sellamos los alimentos para aprovechar la conducción para esa corteza crujiente y por qué una temperatura de aire constante mantiene el interior cocinándose uniformemente.
(Ciencia real: Principios de transferencia de calor de Rahman et al., "Procesamiento térmico de alimentos", Manual de Ingeniería de Alimentos, 2020.*)
Lección 2: La reacción de Maillard donde comienza el sabor
A los niños les encanta la magia y dorar la carne es pura magia. Esa corteza dorada no está "quemada". Es una reacción de Maillard, una reacción química entre aminoácidos y azúcares que crea cientos de nuevas moléculas de sabor.
Comienza a alrededor de 285°F (140°C), un uso perfecto para tu modo infrarrojo TP420.
Prueba esto:
- Usa el termómetro IR para medir la superficie de tu parrilla.
- Explica que solo cuando la superficie alcanza alrededor de 300°F, ese chisporroteo se convierte en sabor.
- Cuando voltees, usa la sonda para verificar la temperatura interna, alrededor de 130°F para carne de res medio cruda.
Luego haz que tus hijos comparen la carne dorada con la carne pálida lado a lado, la misma carne, diferentes temperaturas, un sabor totalmente diferente.
Punto de enseñanza:
El calor no solo cocina el exterior; está cambiando la química. Según una revisión de 2016 en Comprehensive Reviews in Food Science and Food Safety, la reacción de Maillard es responsable de más de 500 compuestos aromáticos únicos que se encuentran en los alimentos asados y tostados (Martins et al., 2016).

Lección 3: Química del humo - Sabor en el aire
Si alguna vez te has preguntado por qué la carne ahumada huele a vida, agradece a la química. Cuando la madera se quema, libera compuestos volátiles como el guaiacol y el siringol, moléculas que se unen a la carne y crean esa firma ahumada.
Diferentes maderas = diferentes químicas:
- Hickory: guaiacol fuerte (aroma a tocino)
- Manzano: compuestos de siringol más dulces
- Mezquite: fenoles para un sabor fuerte y terroso
Pida a sus hijos que midan la temperatura superficial de la madera o las paredes del ahumador con el sensor IR, manténgala entre 225°F y 275°F para una combustión limpia y un humo sabroso.
Luego, use la sonda para verificar la temperatura interna de los alimentos (como 195°F para cerdo desmenuzado).
Fuente científica: Varlet et al., Food Chemistry (2007), identificando más de 400 moléculas de sabor derivadas del humo de la pirólisis de la madera.
Punto de enseñanza:
El humo no es un condimento, sino química. Controlar la temperatura controla las reacciones que producen compuestos de sabor.
Lección 4: Desnaturalización de proteínas - Por qué cambia la textura
Aquí tienes una de las lecciones más geniales para mostrar visualmente. Cuando la carne se cocina, las proteínas se desnaturalizan, se desenrollan, se tensan y finalmente se coagulan. Demasiado bajo, y la carne permanece cruda; demasiado alto, y se seca.
Según el Journal of Food Science (Barbera y Tassone, 2011), el colágeno (tejido conectivo) se descompone entre 160°F y 180°F, transformándose en gelatina.
Usa la sonda TP420 para rastrear la temperatura interna del bistec o el pollo a medida que sube:
- 120°F: textura suave y cruda
- 140°F: tierno y jugoso
- 160°F: firme, completamente cocido
- 180°F: duro y seco
Analogía para niños:
Es como un huevo, crudo (proteínas dobladas), cocido (proteínas enredadas). La misma transformación ocurre dentro de las fibras de la carne.
Punto de enseñanza:
La cocción no es aleatoria, sino control molecular. Estás remodelando las estructuras proteicas a través de un calor preciso.
Lección 5: El papel del agua: vapor, chisporroteo y ciencia
El agua es el héroe (y el villano) anónimo de la barbacoa. Ayuda a conducir el calor de manera uniforme, pero también roba energía cuando se evapora.
Muestra a tus hijos esta sencilla demostración:
- Usa el sensor IR para medir la temperatura de la plancha con gotas de agua.
- A medida que el agua se evapora, la lectura disminuye, la evaporación absorbe calor.
- Una vez seca, la superficie vuelve a subir.
Por eso siempre secamos la carne antes de sellarla, la humedad enfría la sartén y retrasa el dorado.
Un estudio de 2019 en Meat Science encontró que el control de la humedad afecta directamente el desarrollo del sabor y la ternura (Xiong y Chen, 2019).
Punto de enseñanza:
La evaporación es endotérmica y extrae calor. Si la temperatura de la superficie no es lo suficientemente alta, no hay reacción de Maillard.
Lección 6: Experimento de conducción: calor superficial frente a calor interno
Este es un éxito entre los estudiantes visuales.
- Use el sensor IR para medir las rejillas de la parrilla (alrededor de 500°F)
- Inserte la sonda en un corte grueso de carne (comienza alrededor de 40°F)
- Observe lo lento que aumenta el calor interno
Esa diferencia demuestra gradientes térmicos, la razón por la que se deja reposar la carne después de cocinarla. Mientras reposa, el calor viaja hacia adentro (conducción), igualando la temperatura.
El resultado: menos pérdida de jugo, cocción más uniforme.
Referencia científica: Lee et al., LWT – Food Science & Technology (2018) demostraron que el reposo mejora la retención de humedad entre un 12 y un 18%.
Punto de enseñanza:
El calor se mueve a través de la materia de forma predecible. Si lo sacas demasiado pronto o lo cortas demasiado rápido, interrumpes el proceso.
El TP420: Una verdadera herramienta científica disfrazada
El TempPro TP420 no es solo un termómetro de alimentos, sino la herramienta STEM práctica definitiva. Cierra la brecha entre la curiosidad y el control.
Aquí tienes por qué es perfecto para aprender:
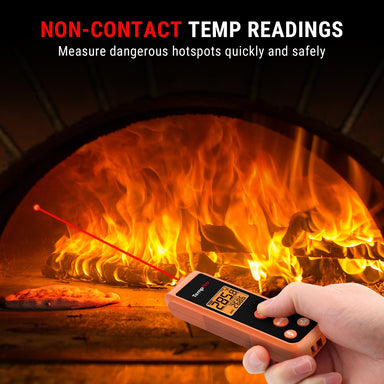
- Sensor infrarrojo para temperaturas superficiales sin contacto: Mide parrillas, piedras para pizza, sartenes o incluso el motor de un coche de forma segura.
- Sonda de acero inoxidable plegable: Verifica el interior de los alimentos con precisión y seguridad.
- Precisión de ±1.8°F: Lo suficientemente fiable para demostraciones en el aula o concursos de cocina.
- Tiempo de respuesta <500ms: Observa los resultados al instante, sin esperar "datos".
- Relación distancia-punto 12:1: Enseña cómo la distancia afecta la precisión y la cobertura.
- Pantalla retroiluminada y giratoria: Lee las temperaturas claramente bajo la luz del sol o la luz de la tarde.
- Sonda impermeable: Limpieza sin estrés después de experimentos desordenados.
Para los niños, esto es un superpoder de temperatura en sus manos, la mezcla perfecta de ciencia, seguridad y diversión.

Lección adicional: de la barbacoa a la física del mundo real
Una vez que sus hijos le cojan el truco, el TempPro TP420 les permite explorar más allá de la comida:
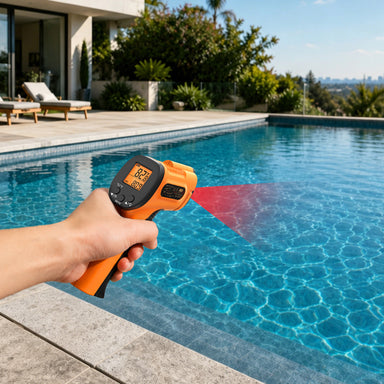
- Mide la temperatura de la superficie de la piscina y compárala con la temperatura del aire.
- Comprueba qué tan rápido se calienta el capó del coche bajo la luz del sol.
- Verifica la salida de la ventilación del HVAC antes y después de ajustar el termostato.
- Compara las temperaturas de la superficie de diferentes materiales (madera vs. metal vs. plástico).
Cada lectura refuerza un principio: la temperatura está en todas partes y es medible.
Preguntas frecuentes sobre el uso del TempPro TP420 para medir la temperatura
P1: ¿Qué diferencia al TP420 de otros termómetros?
Es una herramienta 2 en 1, que combina un sensor infrarrojo para temperaturas de superficie y una sonda de acero inoxidable para temperaturas internas, para que puedas explorar ambos lados de la transferencia de calor.
P2: ¿Qué tan preciso es el TP420?
Mide con una precisión de ±1.8°F y responde en menos de 0.5 segundos, perfecto tanto para la enseñanza como para la precisión en la cocina.
P3: ¿Es seguro para que lo usen los niños?
Con supervisión, sí. El modo IR sin contacto permite a los niños medir superficies calientes de forma segura a distancia.
P4: ¿Puede medir más que comida?
Absolutamente. El sensor IR puede comprobar planchas, hornos de pizza, rejillas de ventilación de HVAC, temperaturas de piscinas e incluso motores de automóviles.
P5: ¿Qué significa la relación distancia-punto "12:1"?
Por cada 12 pulgadas de distancia, el TP420 mide un área de 1 pulgada, ideal para enseñar precisión y enfoque.
P6: ¿Necesita calibración?
Viene precalibrado, pero los usuarios pueden ajustarlo si es necesario para una precisión a largo plazo.
P7: ¿Cómo ayuda a enseñar ciencia?
Hace que conceptos abstractos como la transferencia de calor, la evaporación y el flujo de energía sean visibles y medibles, perfectos para el aprendizaje en casa o actividades STEM.
P8: ¿Es fácil de limpiar?
Sí, la sonda impermeable se puede enjuagar con agua corriente y el sensor IR nunca toca los alimentos.
El panorama general: por qué cocinar enseña confianza
La ciencia de la cocina no se trata solo de hacer mejores barbacoas. Se trata de criar niños que pregunten por qué en lugar de "lo que sea".
Cuando les das un termómetro y les permites experimentar, les estás enseñando precisión, observación y paciencia, los mismos rasgos que se utilizan en la ingeniería o la química.
Y con una herramienta como el termómetro de lectura instantánea 2 en 1 TempPro TP420 para cocinar, obtienen retroalimentación inmediata, sin adivinar, sin esperar, sin frustración. Son datos reales, descubrimientos reales y comida realmente buena.
Porque la ciencia que se puede comer, esa es la mejor ciencia que existe.


Comentarios
También te puede interesar


Productos recomendados