Le secret d'une poitrine de porc parfaitement croustillante


 288 Comments


La poitrine de porc a le don d'humilier les cuisiniers confiants, et la raison en est simple. Elle vous demande de faire deux choses opposées à la fois. La peau veut une chaleur intense et directe pour se boursoufler et devenir croustillante. La viande en dessous veut une cuisson douce et patiente pour rester moelleuse et tendre.
Parce que ces deux objectifs s'opposent, la plupart des tentatives finissent par sacrifier l'un pour l'autre. Vous obtenez un croustillant éclatant sur une viande sèche, ou une viande parfaitement juteuse sous une peau qui se mâche comme du cuir. Et quand un lot réussit, cela peut ressembler à un heureux accident. Ce n'en est pas un. Une excellente poitrine de porc se résume à gérer deux températures en même temps, et une fois que vous le voyez ainsi, le plat devient étonnamment reproductible.
L'erreur que la plupart d'entre nous commettent est de ne surveiller que la température interne, ou pire, que l'horloge. La poitrine de porc croustillante dépend tout autant de la surface. La peau doit être beaucoup plus chaude que la viande ne devrait jamais l'être, assez chaude pour que la graisse en dessous fonde et que la peau gonfle et craque. Si la surface reste trop froide, la graisse cuit à la vapeur au lieu de croustiller. Si l'intérieur monte trop vite, la viande sèche avant que la peau ne soit dorée. C'est le piège : une peau molle d'un côté, une viande trop cuite de l'autre.

Sortir de ce piège ne demande pas plus d'efforts. Cela demande de la clarté sur ce qui fait vraiment réussir la poitrine de porc.
Ce dont une poitrine de porc parfaite a besoin
Si l'on écarte les recettes et les gadgets, cela se résume à trois choses.
Premièrement, la peau doit être sèche avant d'être soumise à une chaleur intense. L'humidité transforme ce qui devrait être un croustillant en une pâte molle et caoutchouteuse, donc plus vous l'enlevez à l'avance, meilleures sont vos chances.
Deuxièmement, la surface doit être vraiment chaude. Le boursouflement ne se produit qu'à des températures que de nombreux équipements domestiques n'atteignent jamais réellement, c'est pourquoi tant de tentatives de poitrine de porc se bloquent à "légèrement croustillant sur les bords".
Troisièmement, l'intérieur doit cuire lentement et uniformément jusqu'à devenir tendre. Si vous vous précipitez, la viande se contracte et sèche bien avant que la peau ne soit prête.
Voici le piège : ces conditions ne peuvent pas toutes se produire en même temps. Il faut donc diviser la cuisson en deux phases distinctes et accorder à chacune toute votre attention.
Phase Un : Fondre doucement et lentement
Commencez la veille si vous le pouvez. Séchez complètement la peau en tapotant, puis laissez la poitrine de porc découverte au réfrigérateur pendant plusieurs heures, idéalement toute la nuit. L'air froid et sec extrait l'humidité de la peau bien mieux que tout essuyage de dernière minute.
Au moment de la cuisson, maintenez une chaleur modérée. Cette étape consiste à faire fondre la graisse et à amener lentement la viande à la tendreté, alors vérifiez de temps en temps la lecture de la sonde à mesure que vous approchez de votre plage cible. C'est ainsi que vous obtiendrez une viande tendre sans la cuire excessivement. Vous n'essayez pas encore de faire croustiller quoi que ce soit. Vous construisez les fondations qui rendront le croustillant possible.
Phase Deux : Croustillant à haute température
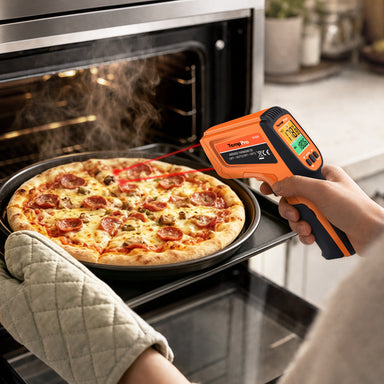
Une fois que l'intérieur a atteint votre objectif, augmentez fortement la chaleur et saisissez la peau. C'est là que la plupart des cuisiniers amateurs perdent le fil, généralement parce qu'ils ne peuvent pas maintenir une chaleur suffisante assez longtemps. Un scan rapide de la surface de temps en temps vous indique si la peau est réellement assez chaude pour cloquer, et il vaut la peine de rester vigilant, car le croustillant se produit rapidement et c'est l'étape où la plupart des poitrines de porc sont trop cuites.
Trop peu de chaleur et il ne se passe pas grand-chose. Trop de chaleur trop longtemps et la viande dépasse sa cuisson idéale en quelques minutes. Dès que la peau est croustillante et que la lecture interne se situe dans votre plage cible, retirez-la du feu et laissez-la reposer brièvement avant de la trancher.

L'outil qui élimine les conjectures
Pour y parvenir, vous devez connaître en permanence deux chiffres : la température de surface de la peau et la température interne de la viande. La plupart des thermomètres vous donnent l'un ou l'autre, c'est pourquoi je continue d'utiliser le même outil pour ce plat.
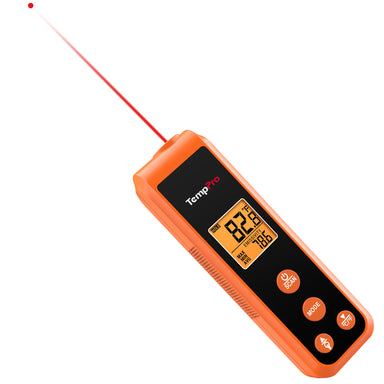
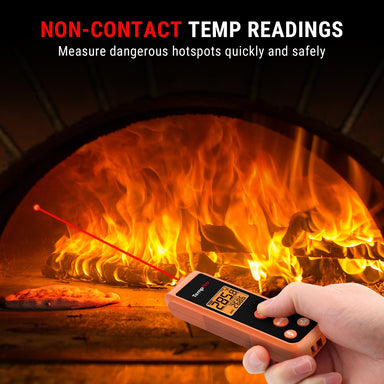
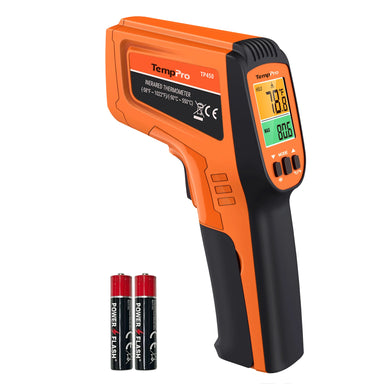
Le TempPro TP420 est un thermomètre instantané et infrarouge 2 en 1, et cette combinaison correspond exactement aux deux problèmes de la poitrine de porc. Pointez l'infrarouge sur la peau et vous obtenez une lecture de surface en environ une demi-seconde, avec une plage qui dépasse largement le seuil de croustillant de 400 °F (204 °C). Pas de devinettes, pas de picotements, pas de « ça a l'air bien ».
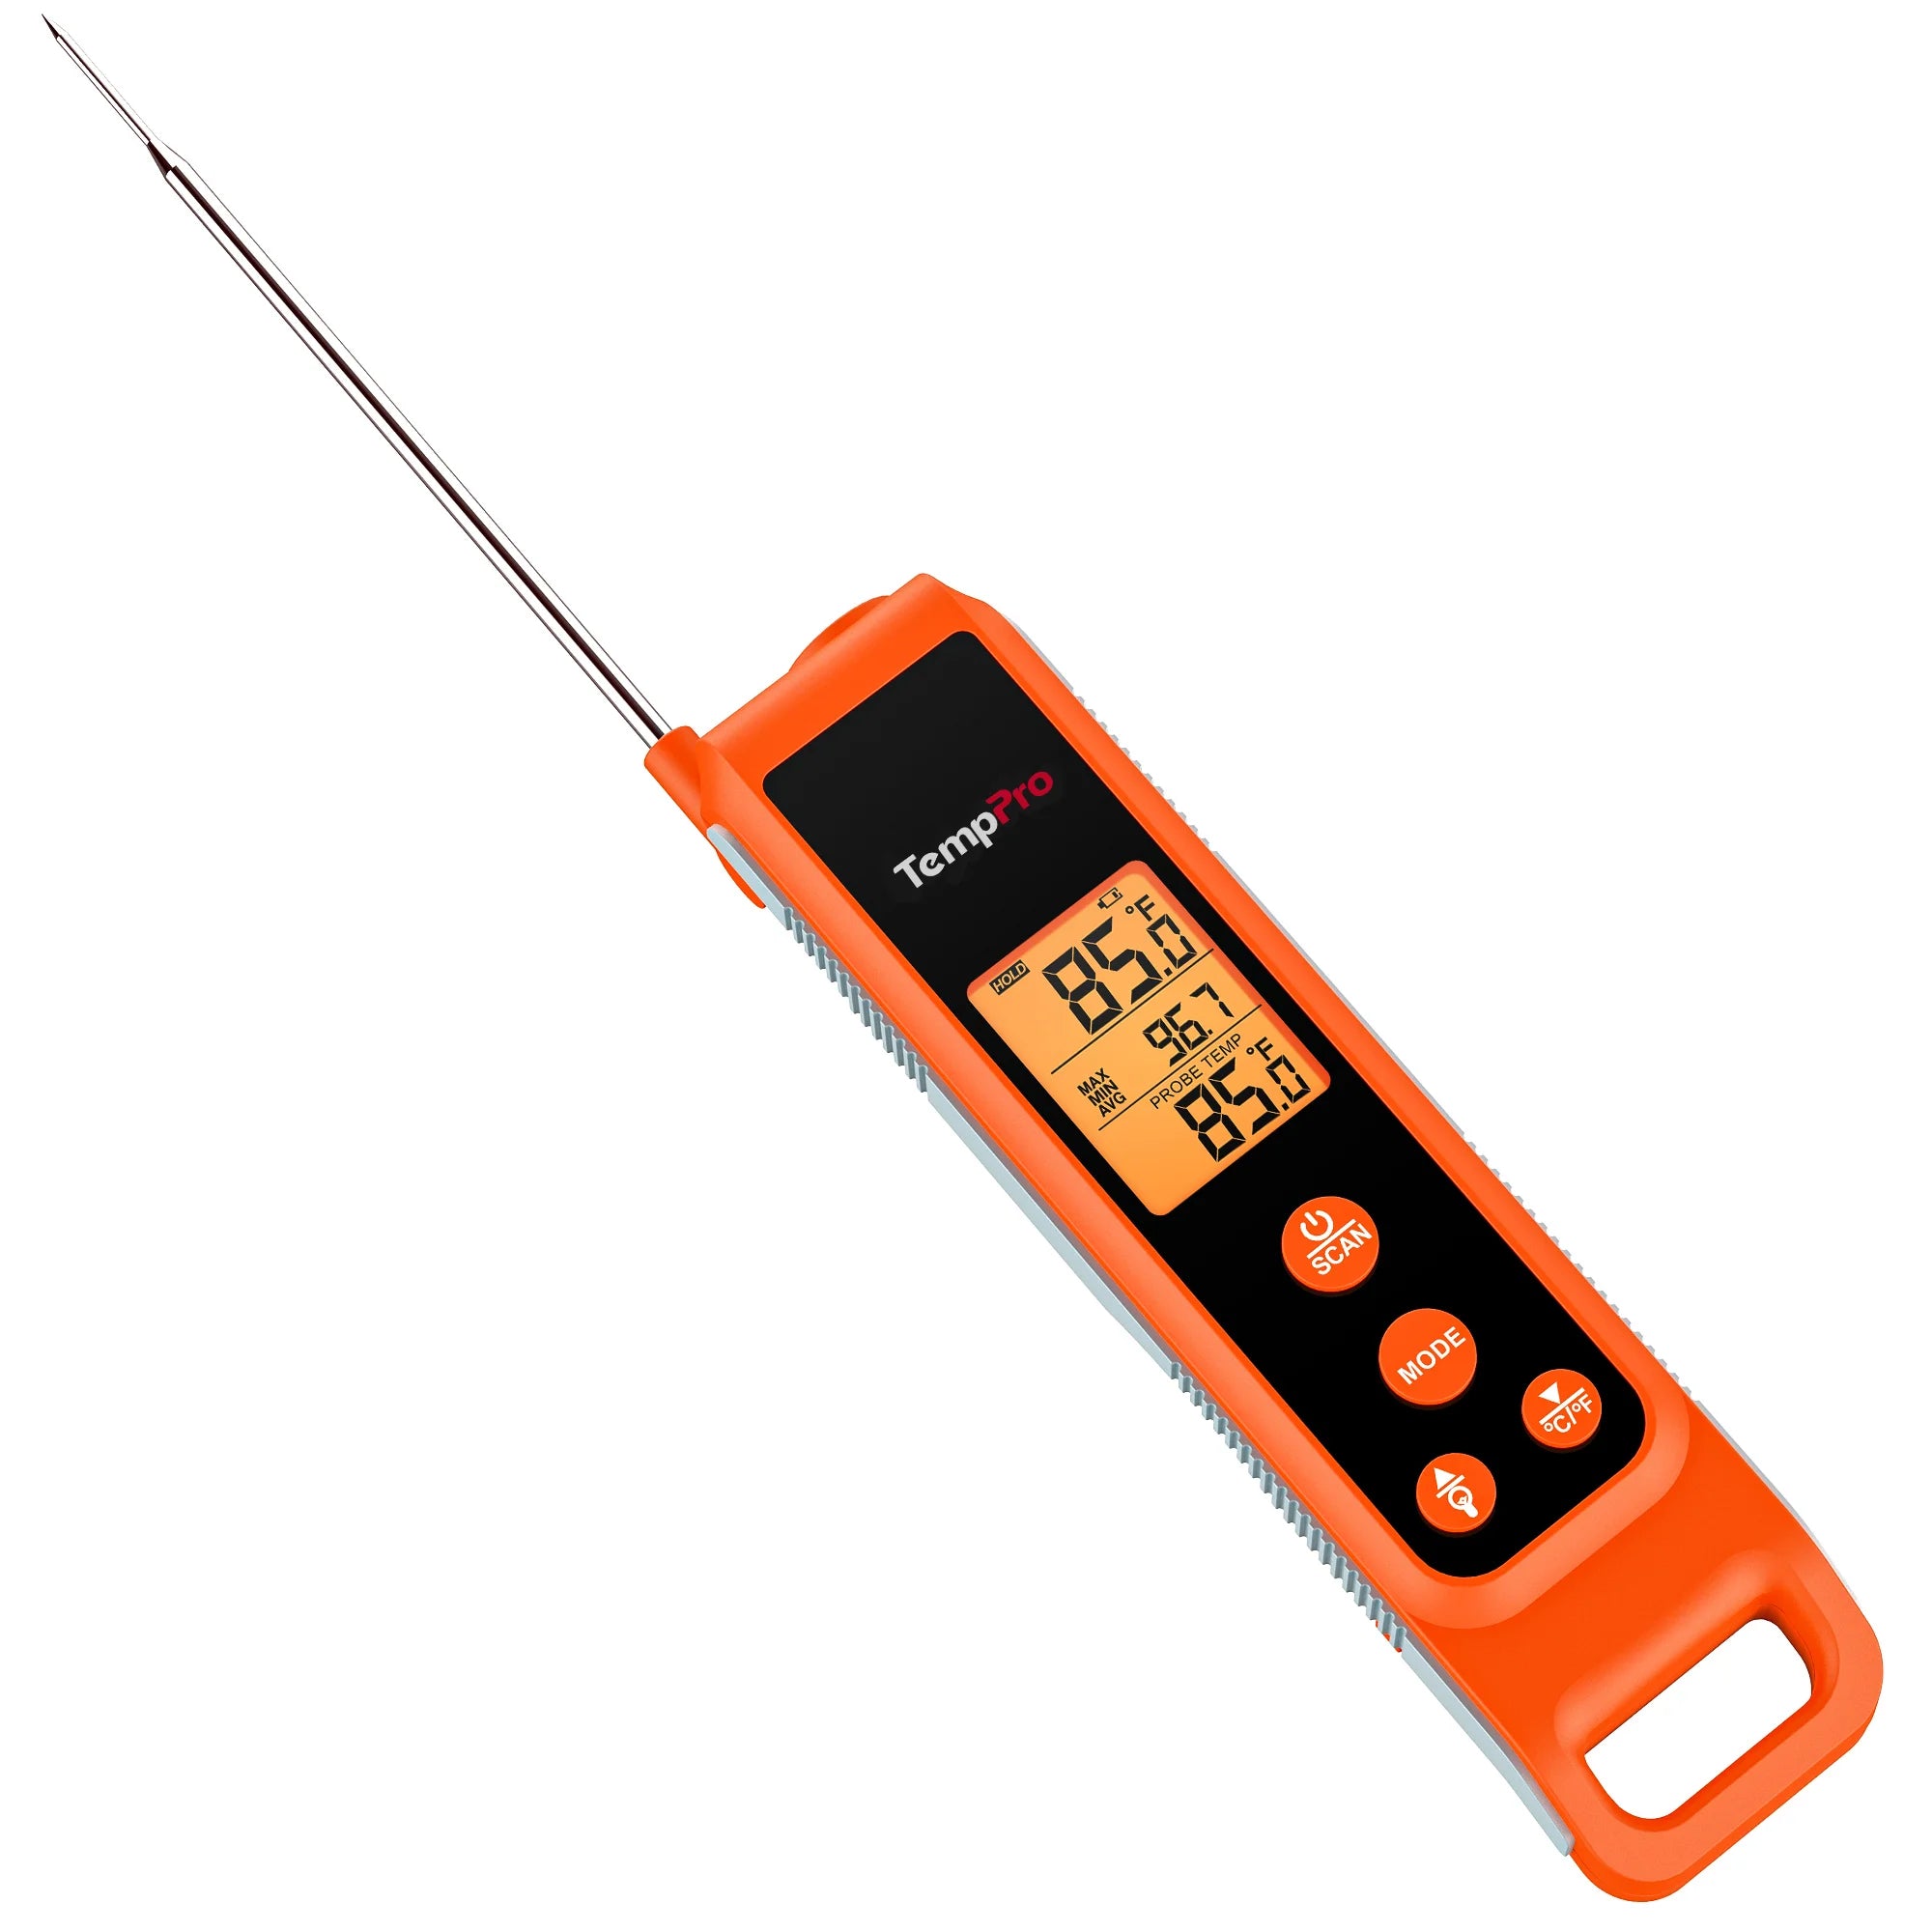
Dépliez la sonde rotative et elle devient un thermomètre instantané ordinaire pour la viande, affichant un chiffre en deux à trois secondes et précis à quelques degrés près. Vérifiez l'intérieur pendant qu'il monte, scannez l'extérieur pendant qu'il cloque, un seul outil dans une seule main.

La vitesse compte plus que vous ne le pensez. Au stade final du croustillant, un délai de quelques secondes peut faire dépasser à la viande son point de cuisson idéal. Avec des lectures en direct sur les deux fronts, vous gardez une longueur d'avance sur la cuisson au lieu de réagir après qu'un problème se soit déjà produit.
Températures à viser
Pour la viande, une température interne comprise entre 74°C et 79°C (165°F et 175°F) donne généralement la texture tendre et fondante qui caractérise la poitrine de porc. L'endroit où vous vous situez dans cette fourchette est une question de goût personnel.
Pour la peau, vous aurez généralement besoin de températures de surface supérieures à 204 °C (400 °F) avant que le véritable croustillant ne commence.
Remarquez à quel point ces chiffres sont éloignés. L'un décrit une cuisson douce de l'intérieur, l'autre décrit une chaleur intense appliquée de l'extérieur, et la distance entre eux est précisément la raison pour laquelle la poitrine de porc est si difficile à réussir en une seule étape.
Là où ça tourne généralement mal
Lorsque la poitrine de porc déçoit, la cause remonte presque toujours à l'un de ces coupables familiers.
Parfois, la peau n'était pas assez sèche au départ, et aucune quantité d'arrosage ou de brossage ne peut sauver une peau qui a été mise au chaud humide.
Parfois, la surface n'a tout simplement jamais été assez chaude. Les grils et les barbecues extérieurs peuvent fournir l'intensité nécessaire pour faire croustiller, mais un four conventionnel seul est souvent insuffisant, et la peau finit par être molle au lieu de croustillante. C'est aussi l'échec que vous ne pouvez pas diagnostiquer à l'œil nu, et c'est là qu'une lecture infrarouge prend tout son sens.
Parfois, l'intérieur dépasse la cible. Sans une lecture fiable de la température interne, la viande dépasse discrètement son objectif tandis que toute l'attention est portée sur la peau.
Et parfois, la dernière étape de croustillant est précipitée ou échappe à tout contrôle parce que la chaleur n'a jamais été gérée du tout.
Différents symptômes, même cause profonde. Chacun de ces échecs est un problème de température déguisé.
Réflexions finales
Une poitrine de porc parfaite ne nécessite pas de technique exotique. Une fois que vous cessez d'espérer que la peau devienne croustillante au même moment où la viande est cuite, et que vous commencez à contrôler chaque résultat selon ses propres termes, le plat cesse d'être un pari.
Il ne reste plus que la simplicité et la reproductibilité : une peau qui craque, une viande qui reste pleine de saveur, et le même résultat à chaque fois. Si vous souhaitez un seul outil qui couvre les deux lectures, vous pouvez trouver le TempPro TP420 ici.

Questions fréquentes sur la poitrine de porc croustillante
Q1. Pourquoi la peau de ma poitrine de porc n'est-elle pas croustillante ?
Généralement parce que la surface n'était pas assez sèche au départ, ou que la chaleur n'était pas assez élevée pendant la phase finale.
Q2. À quelle température la poitrine de porc doit-elle être cuite ?
Une température interne comprise entre 74°C et 79°C (165°F et 175°F) donne des résultats tendres pour la plupart des goûts.
Q3. Comment faire craquer la peau ?
Séchez soigneusement la peau à l'avance, puis exposez-la à une chaleur forte et soutenue à la fin de la cuisson.
Q4. Puis-je cuire la poitrine de porc en une seule étape ?
Vous le pouvez, mais séparer la cuisson douce du croustillant donne des résultats bien plus constants.
Q5. Pourquoi ma poitrine de porc sèche-t-elle ?
La viande dépasse très probablement sa température interne pendant la phase de croustillant, c'est pourquoi la surveillance est la plus importante juste à la fin.
Q6. Ai-je besoin d'un thermomètre pour la poitrine de porc ?
Oui. La gestion des températures interne et de surface est le facteur le plus important pour obtenir des résultats reproductibles.
Q7. En quoi le TempPro TP420 est-il utile pour cela ?
Le TempPro TP420 lit les deux chiffres importants. Son capteur infrarouge vérifie la chaleur de surface de la peau en environ une demi-seconde, et sa sonde dépliable donne une lecture instantanée de la température interne de la viande, afin que vous puissiez contrôler les deux moitiés de la cuisson avec un seul outil.
Q8. Combien de temps la poitrine de porc doit-elle reposer ?
Environ 5 minutes. Un court repos permet aux jus de se fixer avant de trancher.


Commentaires
Vous aimerez peut-être aussi


Produits recommandés